ถึงแม้ว่าตัวคำสั่ง python สามารถรันเป็นเว็บเซิร์ฟเวอร์ใช้พัฒนาโปรแกรมได้ แต่เมื่อต้องนำไปใช้งานจริง (production) นิยมคอนฟิกรันเป็นแอปเซิร์ฟเวอร์ เชื่อมต่อกับเว็บเซิร์ฟเวอร์อย่าง Apache หรือ Nginx เพื่อให้รองรับโหลดได้มากขึ้น รวมทั้งบริหารจัดการอื่นๆ ได้
uWSGI เป็นแอปเซิร์ฟเวอร์ตัวนึงที่สามารถรันเว็บโปรแกรมที่เขียนด้วยภาษา python ได้ โดยสามารถคอนฟิกเชื่อมโยงกับเว็บเซิร์ฟเวอร์โดยผ่าน WSGI (Web Server Gateway Interface)
ลองมาดูวิธีการติดตั้งและคอนฟิก uWSGI เพื่อเชื่อมต่อกับเว็บเซิร์ฟเวอร์ Nginx บน Ubuntu 16.04 กัน
หมายเหตุ ทางทีมผู้พัฒนา uWSGI แนะนำให้ใช้ pip ติดตั้งโปรแกรม uwsgi แทนที่จะติดตั้งแพ็คเกจที่มากับตัว Linux Distribution เอง ซึ่งอาจมีการใช้งานไม่เหมือนกัน
ในที่นี้จะทดสอบต่อจากการ ติดตั้ง Django บน Python 3
dev@ubuntu-1604:~$ cd environments/
dev@ubuntu-1604:~/environments$ ls -l
total 8
drwxrwxr-x 6 dev dev 4096 Nov 27 14:01 env1
drwxrwxr-x 3 dev dev 4096 Nov 27 19:15 web1
ใช้คำสั่ง source ไฟล์ activate เพื่อเข้าสู่ virtual environment env1
dev@ubuntu-1604:~/environments$ source env1/bin/activate
ใช้คำสั่ง pip install ติดตั้ง uwsgi
(env1) dev@ubuntu-1604:~/environments$ pip install uwsgi
Collecting uwsgi
  Downloading uwsgi-2.0.14.tar.gz (788kB)
    100% |████████████████████████████████| 798kB 917kB/s
Installing collected packages: uwsgi
  Running setup.py install for uwsgi ... done
Successfully installed uwsgi-2.0.14
รันคำสั่ง uwsgi ตามด้วยออปชัน –version เพื่อดูเวอร์ชันของ uwsgi
(env1) dev@ubuntu-1604:~/environments$ uwsgi --version
2.0.14
สร้างไฟล์ python สำหรับการทดสอบ
(env1) dev@ubuntu-1604:~/environments$ vi hello.py
def application(env, start_response):
    start_response('200 OK', [('Content-Type','text/html')])
    return [b"Hello World"]
รันคำสั่ง uwsgi ระบุออปชัน
- –http รัน uwsgi ให้เป็น HTTP Web Server โดยตามด้วยเครื่องหมาย : และเลขพอร์ตที่ต้องการรัน
- –wsgi-file ไฟล์ python เพื่อแสดงผลหน้าเว็บ
(env1) dev@ubuntu-1604:~/environments$ uwsgi --http :9090 --wsgi-file hello.py
*** Starting uWSGI 2.0.14 (64bit) on [Mon Nov 28 15:46:42 2016] ***
compiled with version: 5.4.0 20160609 on 28 November 2016 14:02:48
os: Linux-4.4.0-47-generic #68-Ubuntu SMP Wed Oct 26 19:39:52 UTC 2016
nodename: ubuntu-1604
machine: x86_64
clock source: unix
detected number of CPU cores: 1
current working directory: /home/dev/environments
detected binary path: /home/dev/environments/env1/bin/uwsgi
!!! no internal routing support, rebuild with pcre support !!!
*** WARNING: you are running uWSGI without its master process manager ***
your processes number limit is 3813
your memory page size is 4096 bytes
detected max file descriptor number: 1024
lock engine: pthread robust mutexes
thunder lock: disabled (you can enable it with --thunder-lock)
uWSGI http bound on :9090 fd 4
spawned uWSGI http 1 (pid: 4005)
uwsgi socket 0 bound to TCP address 127.0.0.1:45507 (port auto-assigned) fd 3
Python version: 3.5.2 (default, Nov 17 2016, 17:05:23) [GCC 5.4.0 20160609]
*** Python threads support is disabled. You can enable it with --enable-threads ***
Python main interpreter initialized at 0xf95bb0
your server socket listen backlog is limited to 100 connections
your mercy for graceful operations on workers is 60 seconds
mapped 72760 bytes (71 KB) for 1 cores
*** Operational MODE: single process ***
WSGI app 0 (mountpoint='') ready in 0 seconds on interpreter 0xf95bb0 pid: 4004 (default app)
*** uWSGI is running in multiple interpreter mode ***
spawned uWSGI worker 1 (and the only) (pid: 4004, cores: 1)
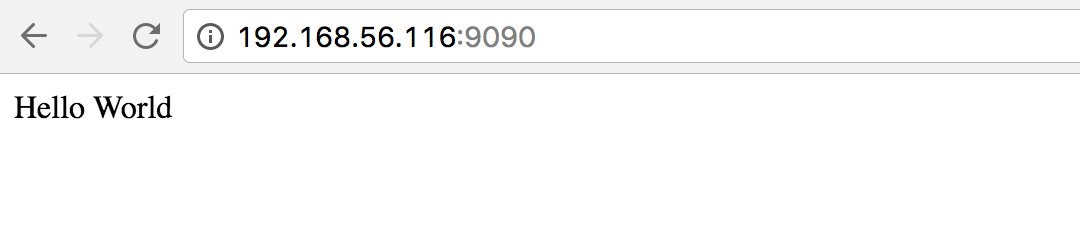
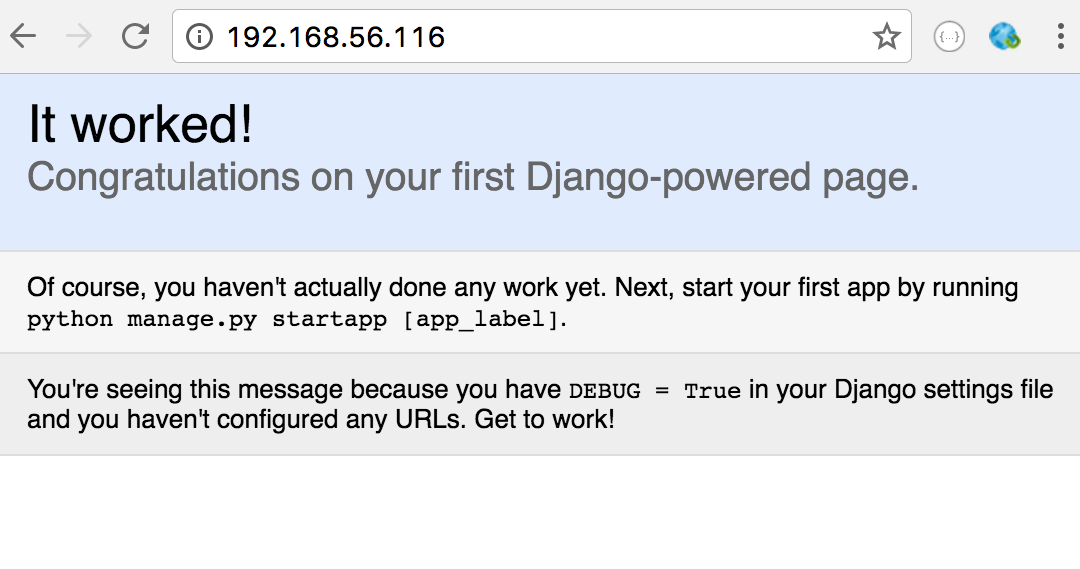
ทดลองใช้ browser เข้า ip ของเซิร์ฟเวอร์ ตามด้วยเลขพอร์ตที่รัน เช่น http://192.168.56.116:9090
ตัวอย่างหน้าเว็บที่รันได้
ตัวอย่างข้อความที่แสดงในคำสั่ง uwsgi
[pid: 4004|app: 0|req: 3/3] 192.168.56.1 () {40 vars in 755 bytes} [Mon Nov 28 15:47:17 2016] GET / => generated 11 bytes in 0 msecs (HTTP/1.1 200) 1 headers in 44 bytes (1 switches on core 0)
 [pid: 4004|app: 0|req: 4/4] 192.168.56.1 () {42 vars in 736 bytes} [Mon Nov 28 15:47:17 2016] GET /favicon.ico => generated 11 bytes in 0 msecs (HTTP/1.1 200) 1 headers in 44 bytes (1 switches on core 0)
เปิดอีกหน้าจอ ใช้คำสั่ง ps เพื่อดูโปรเซส uwsgi
dev@ubuntu-1604:~$ ps -ef | grep wsgi
dev 4004 3297 0 15:46 pts/0 00:00:00 uwsgi --http :9090 --wsgi-file hello.py
dev 4005 4004 0 15:46 pts/0 00:00:00 uwsgi --http :9090 --wsgi-file hello.py
โดยดีฟอลต์ uwsgi จะรันแค่ single process และ single thread
กดปุ่ม [Ctrl]+[c] เพื่อยกเลิกการรัน uwsgi
เพื่อประสิทธิภาพ รองรับโหลดได้มากขึ้น uwsgi สามารถระบุออปชันเพิ่มเติมได้ดังนี้
–master รันโปรเซสหลัก (master) ด้วย
–processes จำนวนโปรเซสที่รัน
–threads จำนวน thread ที่ใช้
(env1) dev@ubuntu-1604:~/environments$ uwsgi --http :9090 --wsgi-file hello.py --master --processes 4 --threads 2
*** Starting uWSGI 2.0.14 (64bit) on [Mon Nov 28 15:48:48 2016] ***
compiled with version: 5.4.0 20160609 on 28 November 2016 14:02:48
os: Linux-4.4.0-47-generic #68-Ubuntu SMP Wed Oct 26 19:39:52 UTC 2016
...
 *** uWSGI is running in multiple interpreter mode ***
 spawned uWSGI master process (pid: 4075)
 spawned uWSGI worker 1 (pid: 4076, cores: 2)
 spawned uWSGI worker 2 (pid: 4077, cores: 2)
 spawned uWSGI worker 3 (pid: 4078, cores: 2)
 spawned uWSGI worker 4 (pid: 4079, cores: 2)
 spawned uWSGI http 1 (pid: 4080)
ลองเปิดหน้าเว็บก็จะได้ผลเหมือนกัน แต่ถ้าลองใช้ ps ดูโปรเซส uwsgi ก็จะมีโปรเซสรันขึ้นมามากขึ้น
dev@ubuntu-1604:~$ ps -ef | grep wsgi
dev 4075 3297 0 15:48 pts/0 00:00:00 uwsgi --http :9090 --wsgi-file hello.py --master --processes 4 --threads 2
dev 4076 4075 0 15:48 pts/0 00:00:00 uwsgi --http :9090 --wsgi-file hello.py --master --processes 4 --threads 2
dev 4077 4075 0 15:48 pts/0 00:00:00 uwsgi --http :9090 --wsgi-file hello.py --master --processes 4 --threads 2
dev 4078 4075 0 15:48 pts/0 00:00:00 uwsgi --http :9090 --wsgi-file hello.py --master --processes 4 --threads 2
dev 4079 4075 0 15:48 pts/0 00:00:00 uwsgi --http :9090 --wsgi-file hello.py --master --processes 4 --threads 2
dev 4080 4075 0 15:48 pts/0 00:00:00 uwsgi --http :9090 --wsgi-file hello.py --master --processes 4 --threads 2
กดปุ่ม [Ctrl]+[c] เพื่อยกเลิกการรัน
คอนฟิก uwsgi เชื่อมกับ nginx
การเชื่อมโยงกับเว็บเซิร์ฟเวอร์ nginx เราสามารถคอนฟิกให้ uwsgi รันแบบ socket โดยระบุออปชัน –socket ตามด้วย ip และหมายเลขพอร์ตที่รอรับการเชื่อมต่อจาก nginx
ตัวอย่างการรัน uwsgi ให้รอรับการเชื่อมต่อภายในตัวเครื่องเอง (127.0.0.1) ที่เลขพอร์ต 9090
(env1) dev@ubuntu-1604:~/environments$ uwsgi --socket 127.0.0.1:9090 --wsgi-file hello.py --master --processes 4 --threads 2
*** Starting uWSGI 2.0.14 (64bit) on [Mon Nov 28 15:51:34 2016] ***
compiled with version: 5.4.0 20160609 on 28 November 2016 14:02:48
os: Linux-4.4.0-47-generic #68-Ubuntu SMP Wed Oct 26 19:39:52 UTC 2016
nodename: ubuntu-1604
...
 uwsgi socket 0 bound to TCP address 127.0.0.1:9090 fd 3
...
 *** uWSGI is running in multiple interpreter mode ***
 spawned uWSGI master process (pid: 4097)
 spawned uWSGI worker 1 (pid: 4098, cores: 2)
 spawned uWSGI worker 2 (pid: 4099, cores: 2)
 spawned uWSGI worker 3 (pid: 4100, cores: 2)
 spawned uWSGI worker 4 (pid: 4101, cores: 2)
ตัวอย่างโปรเซสของ uwsgi ที่รัน
dev@ubuntu-1604:~$ ps -ef | grep uwsgi
dev 4097 3297 0 15:51 pts/0 00:00:00 uwsgi --socket 127.0.0.1:9090 --wsgi-file hello.py --master --processes 4 --threads 2
dev 4098 4097 0 15:51 pts/0 00:00:00 uwsgi --socket 127.0.0.1:9090 --wsgi-file hello.py --master --processes 4 --threads 2
dev 4099 4097 0 15:51 pts/0 00:00:00 uwsgi --socket 127.0.0.1:9090 --wsgi-file hello.py --master --processes 4 --threads 2
dev 4100 4097 0 15:51 pts/0 00:00:00 uwsgi --socket 127.0.0.1:9090 --wsgi-file hello.py --master --processes 4 --threads 2
dev 4101 4097 0 15:51 pts/0 00:00:00 uwsgi --socket 127.0.0.1:9090 --wsgi-file hello.py --master --processes 4 --threads 2
แก้ไขคอนฟิก nginx เพื่อให้เวลาเรียกเว็บ ต้องส่งไปประมวลผลที่ uwsgi ก่อน โดยผ่านทาง socket แล้วค่อยรับผลลัพธ์ที่ได้ ส่งกลับไปยัง browser อีกที
ตัวอย่างการแก้ไขไฟล์คอนฟิก nginx เพื่อเชื่อมโยงกับ uwsgi
หมายเหตุ อย่าลืมใส่เครื่องหมาย # นำหน้าบรรทัดคอนฟิก try_files
dev@ubuntu-1604:~$ sudo vi /etc/nginx/sites-available/default
...
    location / {
        # First attempt to serve request as file, then
        # as directory, then fall back to displaying a 404.
        #try_files $uri $uri/ =404;

        include uwsgi_params;
        uwsgi_pass 127.0.0.1:9090;
    }
...
รีสตาร์ตเซอร์วิส nginx เพื่อให้คอนฟิกที่แก้ไขมีผล
dev@ubuntu-1604:~$ sudo systemctl restart nginx
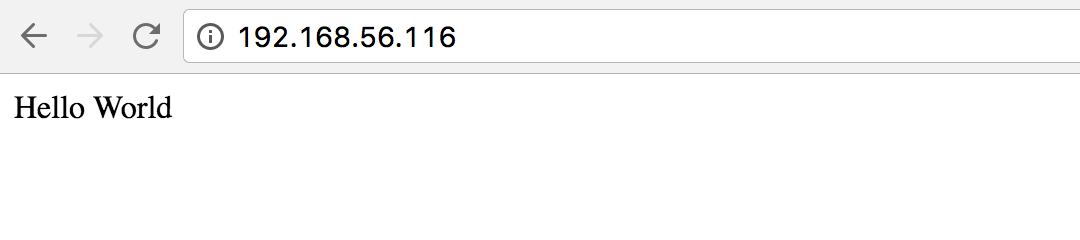
ใช้ browser เรียก ip ของเซิร์ฟเวอร์ โดยตอนนี้เป็นการเรียกเข้าตัวเว็บเซิร์ฟเวอร์ nginx (ไม่ต้องระบุเลขพอร์ต 9090)
ตัวอย่างข้อความที่แสดงในคำสั่ง uwsgi
[pid: 4100|app: 0|req: 1/3] 192.168.56.1 () {44 vars in 789 bytes} [Mon Nov 28 15:52:30 2016] GET / => generated 11 bytes in 0 msecs (HTTP/1.1 200) 1 headers in 44 bytes (1 switches on core 0)
ตัวอย่างข้อความในไฟล์ access.log ของ nginx
dev@ubuntu-1604:~$ tail /var/log/nginx/access.log
192.168.56.1 - - [28/Nov/2016:15:52:30 +0700] "GET / HTTP/1.1" 200 42 "-" "Mozilla/5.0 Chrome/54.0..."
ถ้าลองกด [Ctrl]+[c] ยกเลิกการรัน uwsgi แล้วลองรีเฟรชหน้าจออีกครั้ง จะขึ้นข้อความ 502 Bad Gateway เพราะว่า nginx ไม่สามารถเชื่อมต่อกับ uwsgi ได้
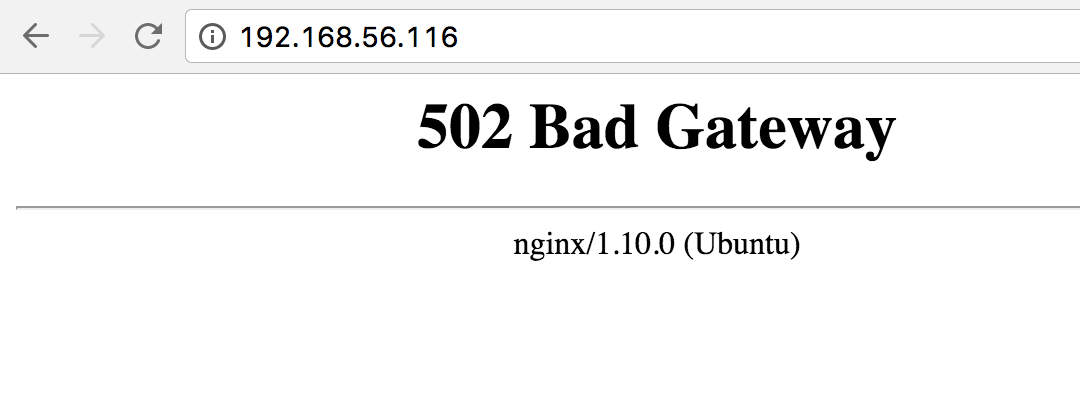
ตัวอย่างข้อความในไฟล์ access.log ของ nginx
192.168.56.1 - - [28/Nov/2016:15:54:04 +0700] "GET / HTTP/1.1" 502 584 "-" "Mozilla/5.0 Chrome/54.0..."
คอนฟิก uWSGI รัน Django
หากต้องการรัน Django ก็เปลี่ยนค่าของออปชัน –wsgi-file ให้ชี้ไปยังไฟล์ wsgi.py ซึ่งมากับการติดตั้ง Django และระบุออปชัน –chdir ระบุพาธที่ติดตั้ง Django ไว้
(env1) dev@ubuntu-1604:~/environments$ uwsgi \
    --socket 127.0.0.1:9090 \
    --chdir /home/dev/environments/web1 \
    --wsgi-file web1/wsgi.py \
    --master --processes 4 --threads 2
*** Starting uWSGI 2.0.14 (64bit) on [Mon Nov 28 15:54:47 2016] ***
compiled with version: 5.4.0 20160609 on 28 November 2016 14:02:48
os: Linux-4.4.0-47-generic #68-Ubuntu SMP Wed Oct 26 19:39:52 UTC 2016
...
spawned uWSGI master process (pid: 4127)
spawned uWSGI worker 1 (pid: 4129, cores: 2)
spawned uWSGI worker 2 (pid: 4130, cores: 2)
spawned uWSGI worker 3 (pid: 4131, cores: 2)
spawned uWSGI worker 4 (pid: 4132, cores: 2)
ทดลองเปิดจาก browser
ไฟล์คอนฟิก ini
แทนที่จะพิมพ์เป็นออปชัน ซึ่งยาวมาก มีโอกาสผิดพลาดได้ง่าย เราสามารถสร้างเป็นไฟล์ ini เก็บค่าคอนฟิกของ uwsgi ที่ต้องการได้
สร้างไฟล์ web1.ini เพื่อเก็บค่าคอนฟิกในการรัน uwsgi เหมือนกับการรันคำสั่งที่ผ่านมา
(env1) dev@ubuntu-1604:~/environments$ vi web1.ini
[uwsgi]
socket = 127.0.0.1:9090
chdir = /home/dev/environments/web1
wsgi-file = web1/wsgi.py
master = true
processes = 4
threads = 2
รันคำสั่ง uwsgi ตามด้วยชื่อไฟล์คอนฟิก ini
(env1) dev@ubuntu-1604:~/environments$ uwsgi web1.ini
[uWSGI] getting INI configuration from web1.ini
*** Starting uWSGI 2.0.14 (64bit) on [Mon Nov 28 16:15:31 2016] ***
compiled with version: 5.4.0 20160609 on 28 November 2016 14:02:48
os: Linux-4.4.0-47-generic #68-Ubuntu SMP Wed Oct 26 19:39:52 UTC 2016
...
spawned uWSGI master process (pid: 4543)
spawned uWSGI worker 1 (pid: 4545, cores: 2)
spawned uWSGI worker 2 (pid: 4546, cores: 2)
spawned uWSGI worker 3 (pid: 4547, cores: 2)
spawned uWSGI worker 4 (pid: 4548, cores: 2)
ทดสอบความถูกต้องด้วยการเปิดเว็บบน browser ก็จะให้ผลเช่นเดียวกัน
สร้างไฟล์รันเซอร์วิส uwsgi ภายใต้ systemd
หลังจากทดสอบคอนฟิกรัน uwsgi เป็นที่เรียบร้อยแล้ว หากต้องการสร้างไฟล์เพื่อรันเป็นเซอร์วิสแบบ systemd (Ubuntu 16.04, CentOS 7) ต้องแก้ไขไฟล์ ini เพิ่มเติม
uid ระบุชื่อ user id ที่จะใช้รัน uwsgi ไม่แนะนำให้ใช้ root เป็นคนรัน uwsgi
die-on-term เพื่อให้หยุดการรัน uwsgi หากได้รับ SIGTERM มาจาก systemd
dev@ubuntu-1604:~/environments$ vi web1.ini
[uwsgi]
socket = 127.0.0.1:9090
chdir = /home/dev/environments/web1
wsgi-file = web1/wsgi.py
master = true
processes = 4
threads = 2

uid = dev
die-on-term = true
สร้างไฟล์ uwsgi.service
dev@ubuntu-1604:~$ sudo vi /etc/systemd/system/uwsgi.service
[Unit]
Description=uWSGI instance to serve

[Service]
ExecStart=/bin/bash -c 'cd /home/dev/environments; source env1/bin/activate; uwsgi web1.ini'

[Install]
WantedBy=multi-user.target
รัน systemctl start เพื่อสตาร์ตเซอร์วิส uwsgi
dev@ubuntu-1604:~$ sudo systemctl start uwsgi
เราสามารถใช้คำสั่ง systemctl status เพื่อตรวจสอบสถานะของเซอร์วิสได้
dev@ubuntu-1604:~/environments$ sudo systemctl status uwsgi
● uwsgi.service - uWSGI instance to serve
   Loaded: loaded (/etc/systemd/system/uwsgi.service; static; vendor preset: enabled)
   Active: active (running) since Mon 2016-11-28 16:25:19 ICT; 5s ago
 Main PID: 5125 (bash)
    Tasks: 10
   Memory: 25.6M
      CPU: 233ms
    CGroup: /system.slice/uwsgi.service
            ├─5125 /bin/bash -c cd /home/dev/environments; source env1/bin/activate; uwsgi web1.ini
            ├─5126 uwsgi web1.ini
            ├─5130 uwsgi web1.ini
            ├─5131 uwsgi web1.ini
            ├─5132 uwsgi web1.ini
            └─5133 uwsgi web1.ini

...
ทดลองเปิดหน้าเว็บ ก็จะได้ผลเหมือนกัน
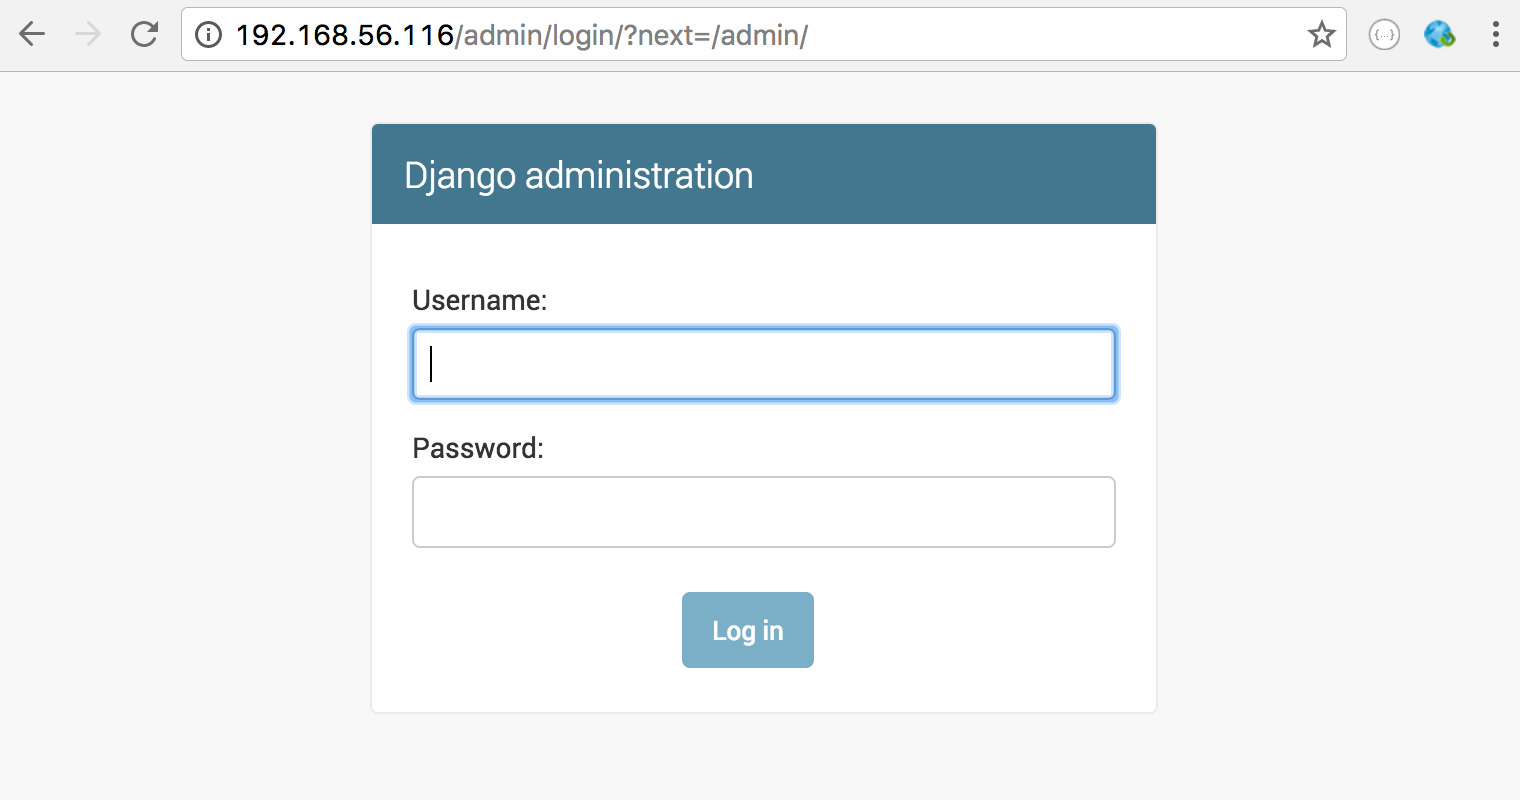
ปัญหา static files
แม้ว่าหน้าแรกของ Django แสดงผลได้อย่างถูกต้อง แต่ถ้าเข้าหน้า /admin การแสดงผลหน้าเว็บเพี้ยนไป เนื่องจาก browser ไม่สามารถหาไฟล์ css, js และอื่นๆ ที่ใช้แสดงผลได้
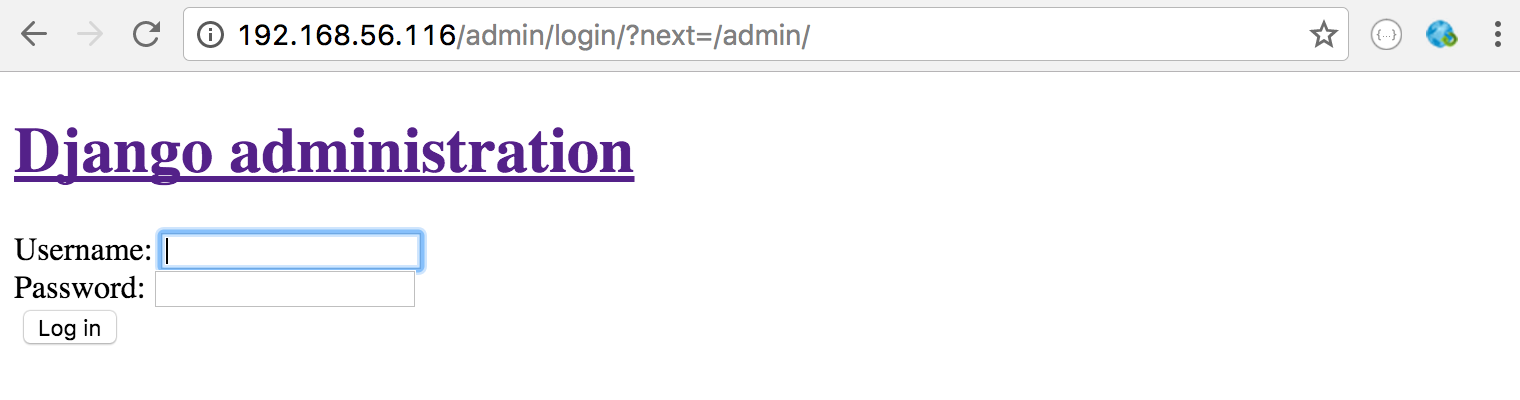
การแก้ไขปัญหาการแสดงผลนี้ ต้อง copy ไฟล์ static ไปอยู่ในไดเรคทอรีที่ระบุ แล้วแก้ไขคอนฟิกของ nginx ให้มาเรียกไฟล์ได้ถูกต้อง
แก้ไขไฟล์คอนฟิก settings.py แล้วเพิ่มบรรทัดคอนฟิก STATIC_ROOT
(env1) dev@ubuntu-1604:~/environments/web1$ vi web1/settings.py
...
# Static files (CSS, JavaScript, Images)
# https://docs.djangoproject.com/en/1.10/howto/static-files/

STATIC_URL = '/static/'
STATIC_ROOT = os.path.join(BASE_DIR, "static/")
ใช้ python รันไฟล์ manage.py ระบุคำสั่งย่อย collectstatic เพื่อให้ copy ไฟล์ static ไปไว้ในไดเรคทอรี STATIC_ROOT
(env1) dev@ubuntu-1604:~/environments/web1$ python manage.py collectstatic

You have requested to collect static files at the destination
location as specified in your settings:

    /home/dev/environments/web1/static

This will overwrite existing files!
Are you sure you want to do this?

Type 'yes' to continue, or 'no' to cancel: yes
Copying '/home/dev/environments/env1/lib/python3.5/site-packages/django/contrib/admin/static/admin/js/cancel.js'
Copying '/home/dev/environments/env1/lib/python3.5/site-packages/django/contrib/admin/static/admin/js/prepopulate.min.js'
Copying '/home/dev/environments/env1/lib/python3.5/site-packages/django/contrib/admin/static/admin/js/collapse.js'
Copying '/home/dev/environments/env1/lib/python3.5/site-packages/django/contrib/admin/static/admin/js/core.js'
...
...
Copying '/home/dev/environments/env1/lib/python3.5/site-packages/django/contrib/admin/static/admin/css/login.css'
Copying '/home/dev/environments/env1/lib/python3.5/site-packages/django/contrib/admin/static/admin/css/forms.css'
Copying '/home/dev/environments/env1/lib/python3.5/site-packages/django/contrib/admin/static/admin/css/fonts.css'
Copying '/home/dev/environments/env1/lib/python3.5/site-packages/django/contrib/admin/static/admin/css/widgets.css'

61 static files copied to '/home/dev/environments/web1/static'.
(env1) dev@ubuntu-1604:~/environments/web1$
ตัวอย่างไฟล์ที่ได้จากคำสั่ง collectstatic
(env1) dev@ubuntu-1604:~/environments/web1$ ls -l
total 48
-rw-r--r-- 1 dev dev 36864 Nov 28 16:31 db.sqlite3
-rwxrwxr-x 1 dev dev   802 Nov 27 18:52 manage.py
drwxrwxr-x 3 dev dev  4096 Nov 28 16:44 static
drwxrwxr-x 3 dev dev  4096 Nov 28 16:43 web1

(env1) dev@ubuntu-1604:~/environments/web1$ ls -l static/
total 4
drwxrwxr-x 6 dev dev  4096 Nov 28 16:44 admin

(env1) dev@ubuntu-1604:~/environments/web1$ ls -l static/admin/
total 16
drwxrwxr-x 2 dev dev  4096 Nov 28 16:44 css
drwxrwxr-x 2 dev dev  4096 Nov 28 16:44 fonts
drwxrwxr-x 3 dev dev  4096 Nov 28 16:44 img
drwxrwxr-x 4 dev dev  4096 Nov 28 16:44 js

(env1) dev@ubuntu-1604:~/environments/web1$ deactivate
แก้ไขไฟล์คอนฟิก nginx เพื่อระบุพาธ /static ให้ไปเรียกไฟล์ในไดเรคทอรีที่คอนฟิกไว้เป็น STATIC_ROOT
dev@ubuntu-1604:~/environments/web1$ sudo vi /etc/nginx/sites-available/default
...
    location / {
        # First attempt to serve request as file, then
        # as directory, then fall back to displaying a 404.
        #try_files $uri $uri/ =404;

        include uwsgi_params;
        uwsgi_pass 127.0.0.1:9090;
    }

    location /static {
        alias /home/dev/environments/web1/static;
    }
...
รีสตาร์ตเซอร์วิส nginx
dev@ubuntu-1604:~/environments/web1$ sudo systemctl restart nginx
ลองเปิดหน้าเว็บดูอีกที ก็จะแสดงผลถูกต้อง